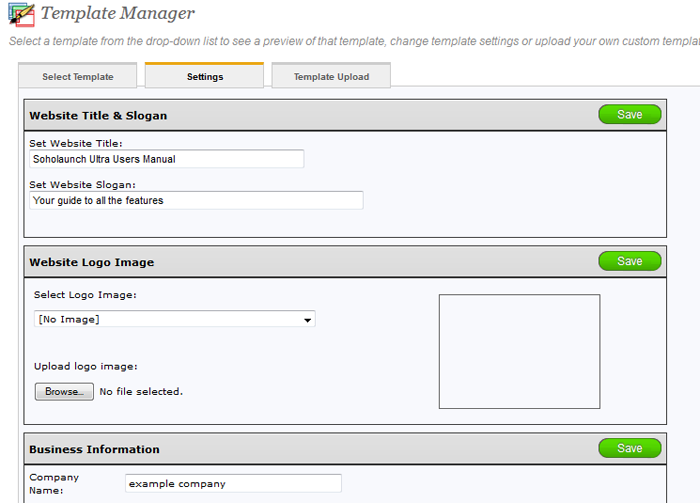
The Settings tab in the Template Manager lets you control the different options available in the template. Below are the explanations for all the settings.

Website Title and Slogan
This area lets you add a website title and slogan, which are usually displayed in the template's header. Simply enter the text in the appropriate fields and click "Save".
Company logo image
Some templates will allow a logo image to be displayed in the header area of the template. If the template being used has this capability, simply upload the logo image and select it for display from the drop-down. The image must be sized appropriately to prevent the template graphics from being distorted.
Business information
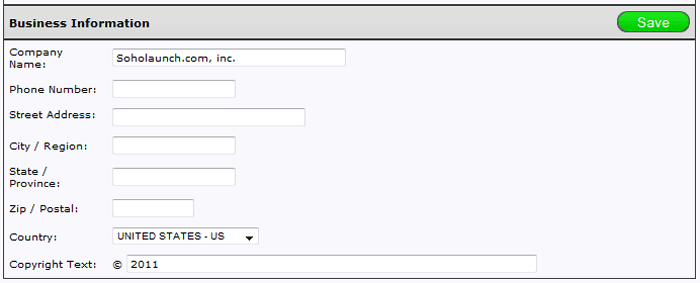
Some templates will allow business information such as address or phone number to be displayed in the header area of the template. If the template being used has this capability, simply insert appropriate text in the fields provided and save.
Website Buttons
This section lets you change the default color of your site's buttons. The selection applies to button colors site-wide, such as the buttons on all the site's forms. Use the drop-down, select custom, and click the color picker box and select your preferred color.

Mobile device template
This drop-down lets you select a different template for mobile devices. If the visitor browses to your site on a mobile device, it will show this template instead of the default one that you have selected in the template manager. The default "Use normal template" means no special mobile template is selected, and the default template will show for mobile devices.

Website favicon image
This lets you upload a favicon that will appear in your visitors browsers. Simply upload the image with the recommended size and select it from the drop-down to enable.
User-changeable template images
If the selected template has swappable images, you can change those back on the select template page. Click the "Templates Images" link to do so.

